
Chapter 6 Lesson 1 - Creating a Testnet Account & Deploying to Testnet
Heyo nerds. In today’s lesson, we will learn how to create a new testnet account and deploy our NFT contract to Flow Testnet.
Installing the Cadence VSCode Extension
If you haven’t installed VSCode before, you can do that here: https://code.visualstudio.com/
Now that we’re no longer on the playground, we want to be able to have errors show up in our VSCode when we’re coding Cadence. There’s an extension to do that!
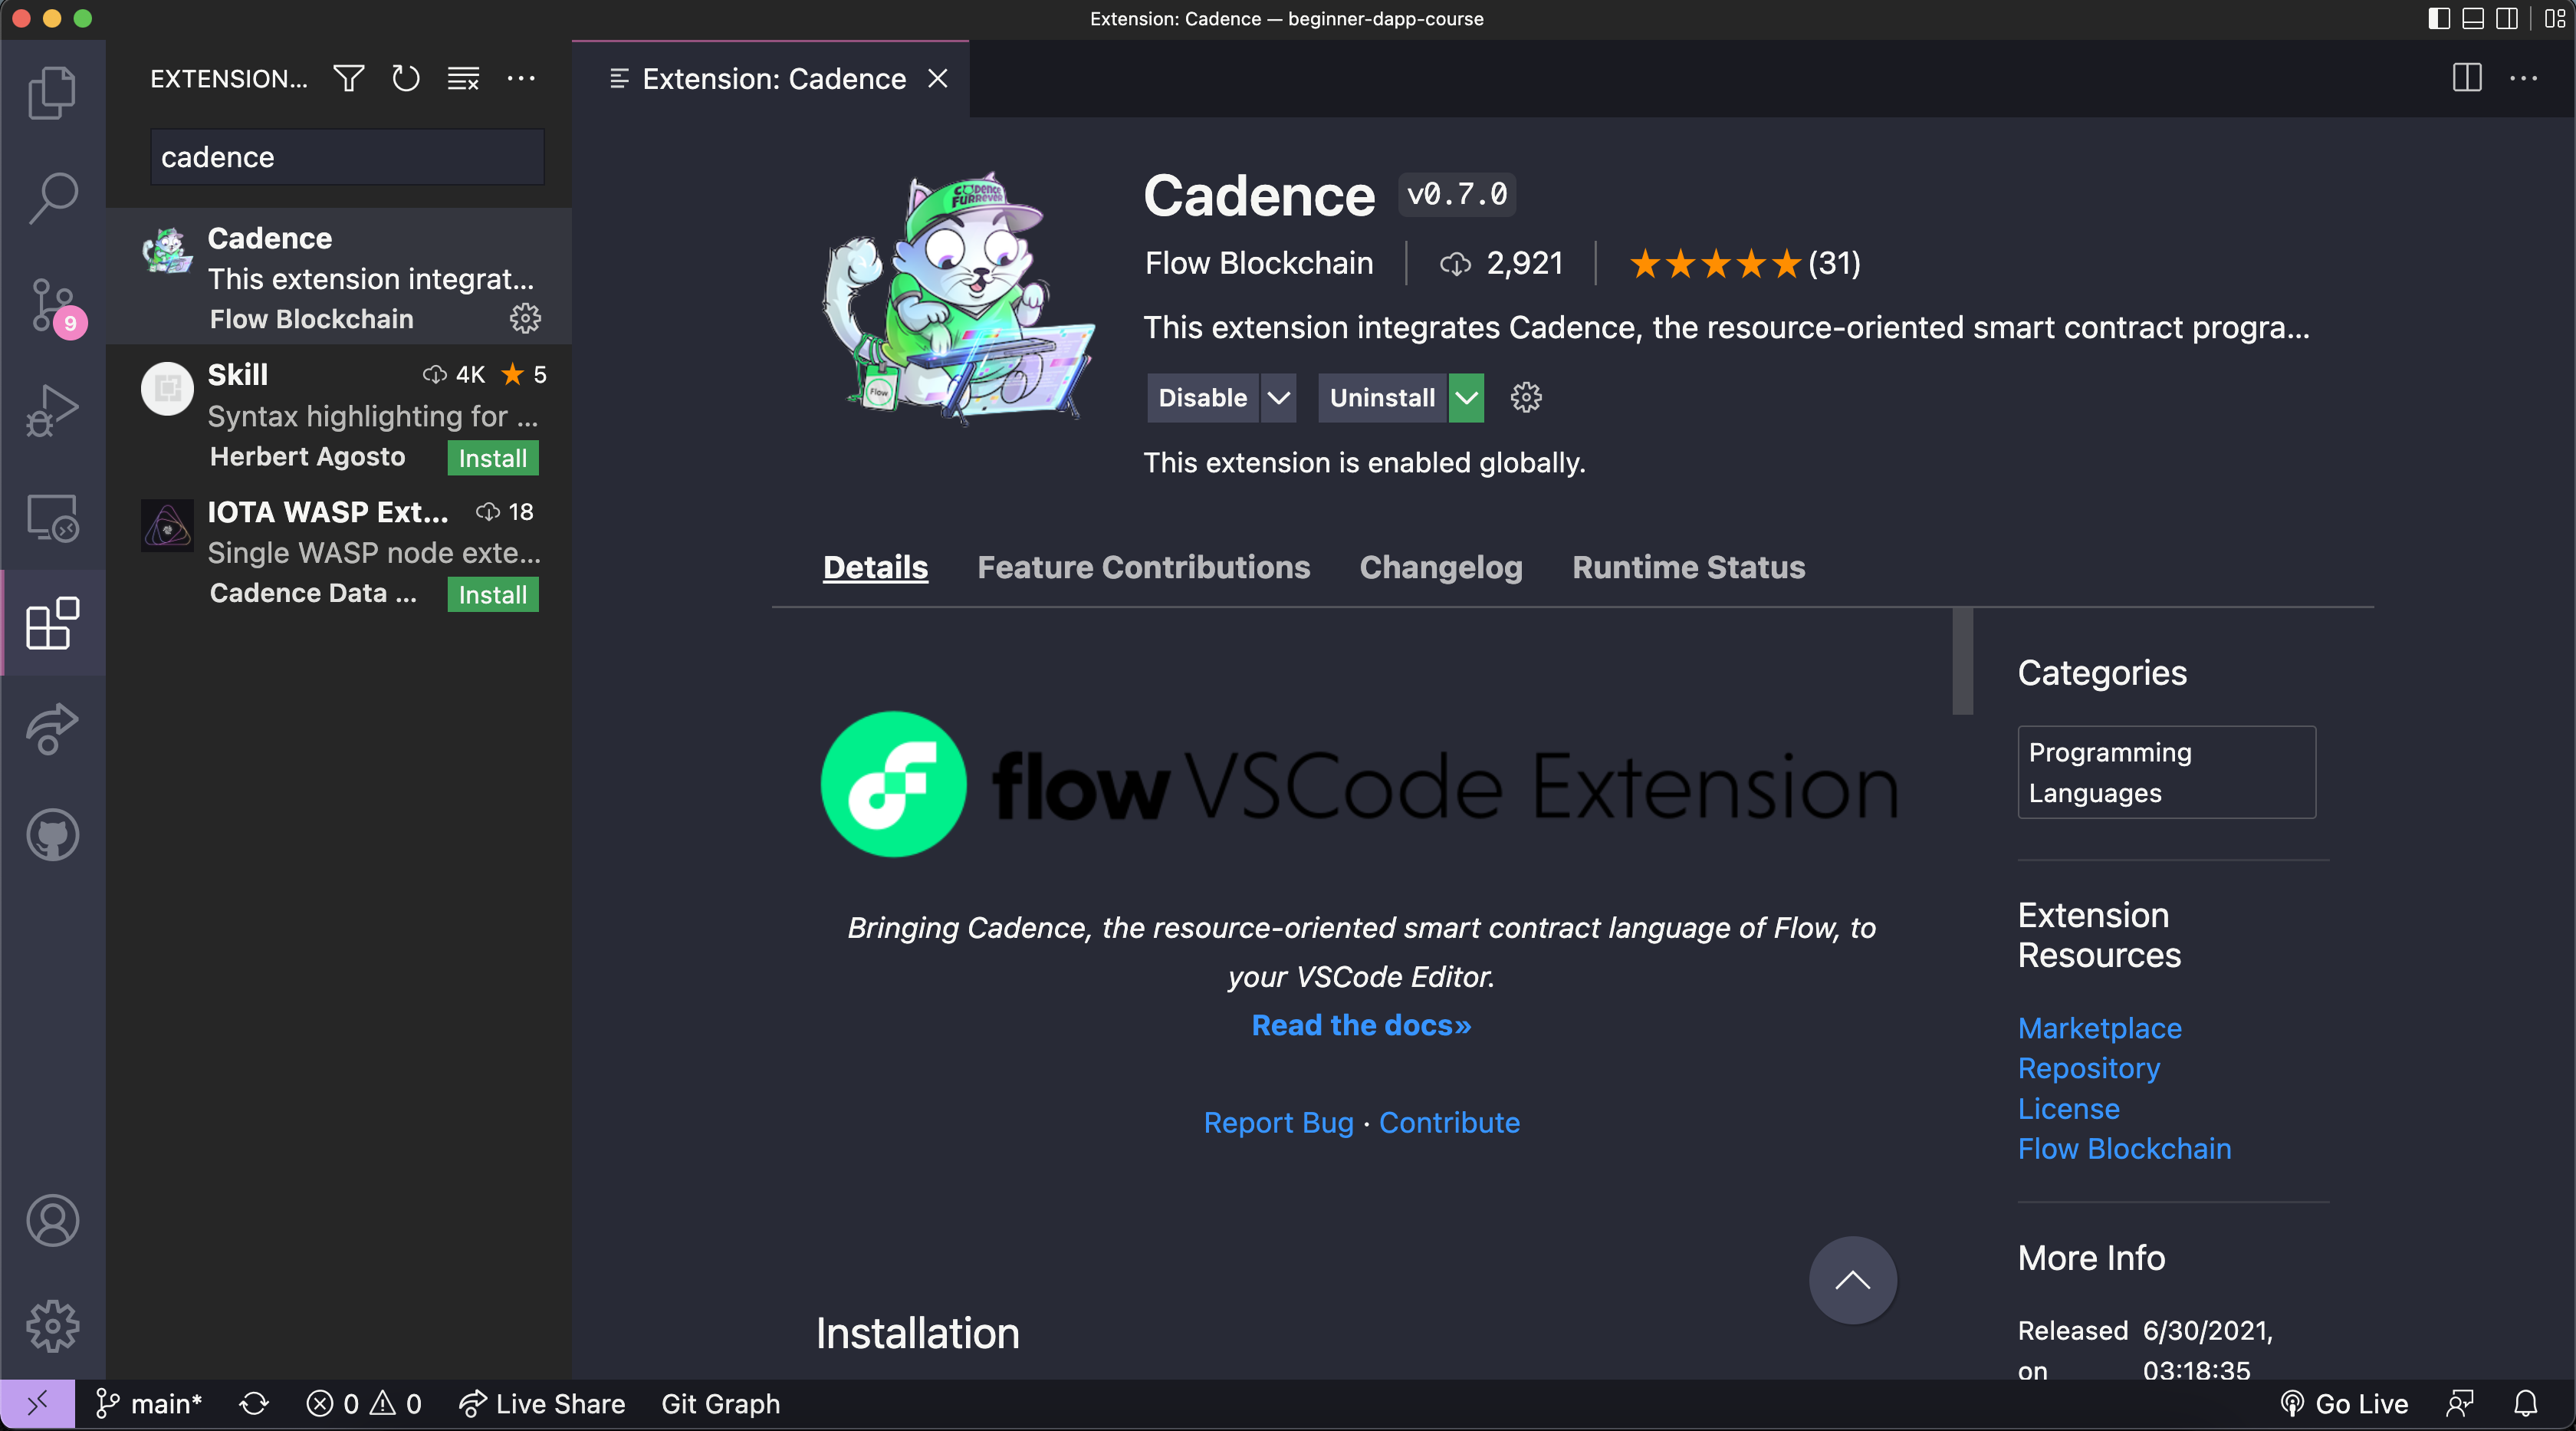
Open VSCode. On the left side of VSCode, there’s an icon that looks like 4 squares. Click that and search “Cadence”.
Click on the following extension and press “Install”:
Installing the Flow CLI & flow.json
The Flow CLI will allow us to run transactions & scripts from the terminal, and allow us to do other Flow stuff like deploying a contract.
Install the Flow CLI. You can do that by:
Mac
- Pasting
sh -ci "$(curl -fsSL https://storage.googleapis.com/flow-cli/install.sh)"into a terminal
Windows
- Pasting
iex "& { $(irm 'https://storage.googleapis.com/flow-cli/install.ps1') }"into PowerShell
Linux
- Pasting
sh -ci "$(curl -fsSL https://storage.googleapis.com/flow-cli/install.sh)"into a terminal
You can confirm the Flow CLI is installed by going to a terminal and typing flow version. If a version appears, you’re good to go.
Flow Folder
Inside of our base directory, let’s make a new folder called flow.
Inside of the flow folder, let’s make another folder called cadence.
Inside of the cadence folder, let’s make a contracts folder, a transactions folder, and a scripts folder.
Inside of the contracts folder, add a new file called CONTRACT_NAME.cdc. Replace CONTRACT_NAME with the name of your contract. In that file, put your contract code from Chapter 5. For the sake of this lesson, we will be calling this contract “ExampleNFT”, but please make sure to replace that with your own contract’s name.
Notice at the top, we now need to import from a local file path instead of a random Flow playground address. We aren’t importing from 0x01 anymore, that was just a playground thing. In this case, we are importing from a local contract that exists in our project.
Change the import at the top to be:
import NonFungibleToken from "./NonFungibleToken.cdc"
For this to work, we also need to add the NonFungibleToken contract interface to our contracts folder as well. Make sure to name the file NonFungibleToken.cdc.
Inside the transactions folder, make a bunch of files called TRANSACTION_NAME.cdc. Replace TRANSACTION_NAME with the names of your transactions.
Notice that the imports are also now all wrong. We aren’t importing from 0x01 anymore, that was just a playground thing. In this case, we are importing from a local contract that exists in our project. So change the imports to something like this format:
import ExampleNFT from "../contracts/ExampleNFT.cdc"
Inside the scripts folder, make a bunch of files called SCRIPT_NAME.cdc. Replace SCRIPT_NAME with the names of your scripts.
flow.json
Now that we have our contract in our project directory, go to your terminal and
cdinto the base project directory.
Type
flow init
This will create a flow.json file inside your project. This is needed to deploy contracts and to give us compile errors inside our Cadence code.
Deploying our NFT Contract to TestNet
Sweet! Now let’s deploy our contract to TestNet so that we can start interacting with it.
Configuring flow.json
Inside of your
flow.jsonfile, make the “contracts” object look like this:
			"contracts": {
  "ExampleNFT": "./contracts/ExampleNFT.cdc",
  "NonFungibleToken": {
    "source": "./contracts/NonFungibleToken.cdc",
    "aliases": {
      "testnet": "0x631e88ae7f1d7c20"
    }
  }
},
Make sure replace “ExampleNFT” with whatever your contract’s name is
This will allow your flow.json to know where your contracts live. Note that NonFungibleToken already exists on Flow Testnet, which is why it looks more complicated.
Creating an Account
🔐 Generate a deployer address by typing
flow keys generate --network=testnetinto a terminal. Make sure to save your public key and private key somewhere, you will need them soon.

👛 Create your deployer account by going to https://testnet-faucet.onflow.org/, pasting in your public key from above, and clicking
CREATE ACCOUNT:

After it finishes, click
COPY ADDRESSand make sure to save that address somewhere. You will need it!
⛽️ Add your new testnet account to your
flow.jsonby modifying the following lines of code. Paste your address you copied above to where it says “YOUR GENERATED ADDRESS”, and paste your private key where it says “YOUR PRIVATE KEY”.
			"accounts": {
  "emulator-account": {
    "address": "f8d6e0586b0a20c7",
    "key": "5112883de06b9576af62b9aafa7ead685fb7fb46c495039b1a83649d61bff97c"
  },
  "testnet-account": {
    "address": "YOUR GENERATED ADDRESS",
    "key": {
      "type": "hex",
      "index": 0,
      "signatureAlgorithm": "ECDSA_P256",
      "hashAlgorithm": "SHA3_256",
      "privateKey": "YOUR PRIVATE KEY"
    }
  }
},
"deployments": {
  "testnet": {
    "testnet-account": [
      "ExampleNFT"
    ]
  }
}
Make sure to change “ExampleNFT” to whatever your contract’s name is.
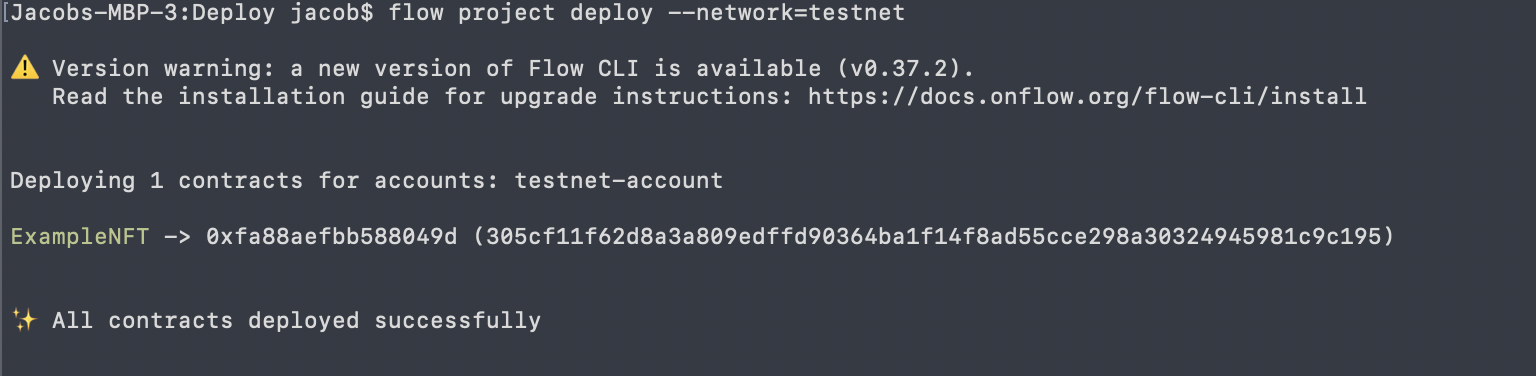
🚀 Deploy your “ExampleNFT” smart contract:
flow project deploy --network=testnet
Quests
- Go to https://flow-view-source.com/testnet/. Where it says “Account”, paste in the Flow address you generated and click “Go”. On the left hand side, you should see your NFT contract. Isn’t it so cool to see it live on Testnet? Then, send the URL to the page.