
Chapter 2 Lesson 1 - Creating our DApp
Hello you absolute idiots. In this lesson, we are going to actually jump into some code and start our DApp development. We will be using Next.js to create our first DApp.
IMPORTANT NOTE
Chapter 2 will focus on frontend development, specifically the semantics of HTML, CSS, React.js/Next.js. If you are already comfortable with these languages, you still need to complete Chapter 2 because you will be setting up for other chapters. However it will be very quick for you, and you can skim through the lesson. That is totally okay.
What is Next.js?
You can skip this section if you already know Next.js and frontend development
In this section, I will teach you what Next.js is. But first, let’s learn the difference between “frontend” and “backend” development.
Frontend
You know how when you load up a website, you see stuff on the screen? Well, there’s two things that are immediately obvious to the user:
- What is being displayed.
- How it looks, or its styling.
- What happens when you click something.
These things are usually what we call “frontend” development. It’s what the user is experiencing. For example, on Instagram, when you are:
- Scrolling through your feed
- Looking at people’s posts
- Clicking “search” and type stuff in
- Click the heart button and it turns red
… all of that is frontend stuff.
Backend
However, there is also something called “backend” development. Backend STINKS. Just kidding, I just don’t like it because it’s hard for me. Backend development is the stuff that gets run outside of your client. While “frontend” occurs on your client/computer, backend is usually on some alternate system that is running somewhere else. In a traditional Web2 world (like Instagram), backend development usually includes:
- Fetching complicated information
- Storing things in a database
- Doing complex procedures that you wouldn’t want to do on a frontend (to prevent loading times from being so long)
For example, on Instagram, when you click on a user’s profile, the backend will load all of the users data (like their posts) and send it to the frontend so that the frontend can display it.
Similarly, when you make a post, the backend will actually send the information about the post (like the description & image) to the backend so that the backend can send it off to some database somewhere.
Back to Next.js
The reason I told you these things is because Next.js actually allows us to do both frontend and backend development. Yes, it is amazing. We will be using Next.js throughout this course for our DApp.
To learn more about Next.js, you can check out their website.
Installing Stuff
Before we dive into the rest of the course, we’ll need to make sure we have some things installed. Yes, this is incredibly annoying. But it should be okay, and if you need any help, please reach out in the Emerald City Discord.
- Node: https://nodejs.org/en/download/. You can confirm this worked successfully if you type
node -vinto your terminal and it returns something back. - npx: Open up a terminal and run
npm install -g npx. You can confirm this worked successfully if you typenpx -vinto your terminal and it returns something back. - git: https://git-scm.com/book/en/v2/Getting-Started-Installing-Git. You can confirm this worked successfully if you type
git --versioninto your terminal and it returns something back. - VSCode: https://code.visualstudio.com/
Creating Our DApp
To get a Next.js project onto our computer, we will be following their docs.
Open up a terminal on your computer and run:
npx create-next-app@latest emerald-dapp
This will “clone” (or create) a Next.js project onto your computer and call it “emerald-dapp”. What your computer is doing is installing all the necessary pieces of code and dependencies needed to run your application. Woohoo! This will be our DApp for the rest of the course.
Launching Our DApp
After your computer does all of its complicated stuff and it looks like it is finished installing, go into your project directory by typing:
cd emerald-dapp
Before we even jump into code, we can look at the project by typing:
npm run dev
This will start your application. Launch your browser of choice and go to http://localhost:3000/, you will see your website! Hopefully, it will look something like this:
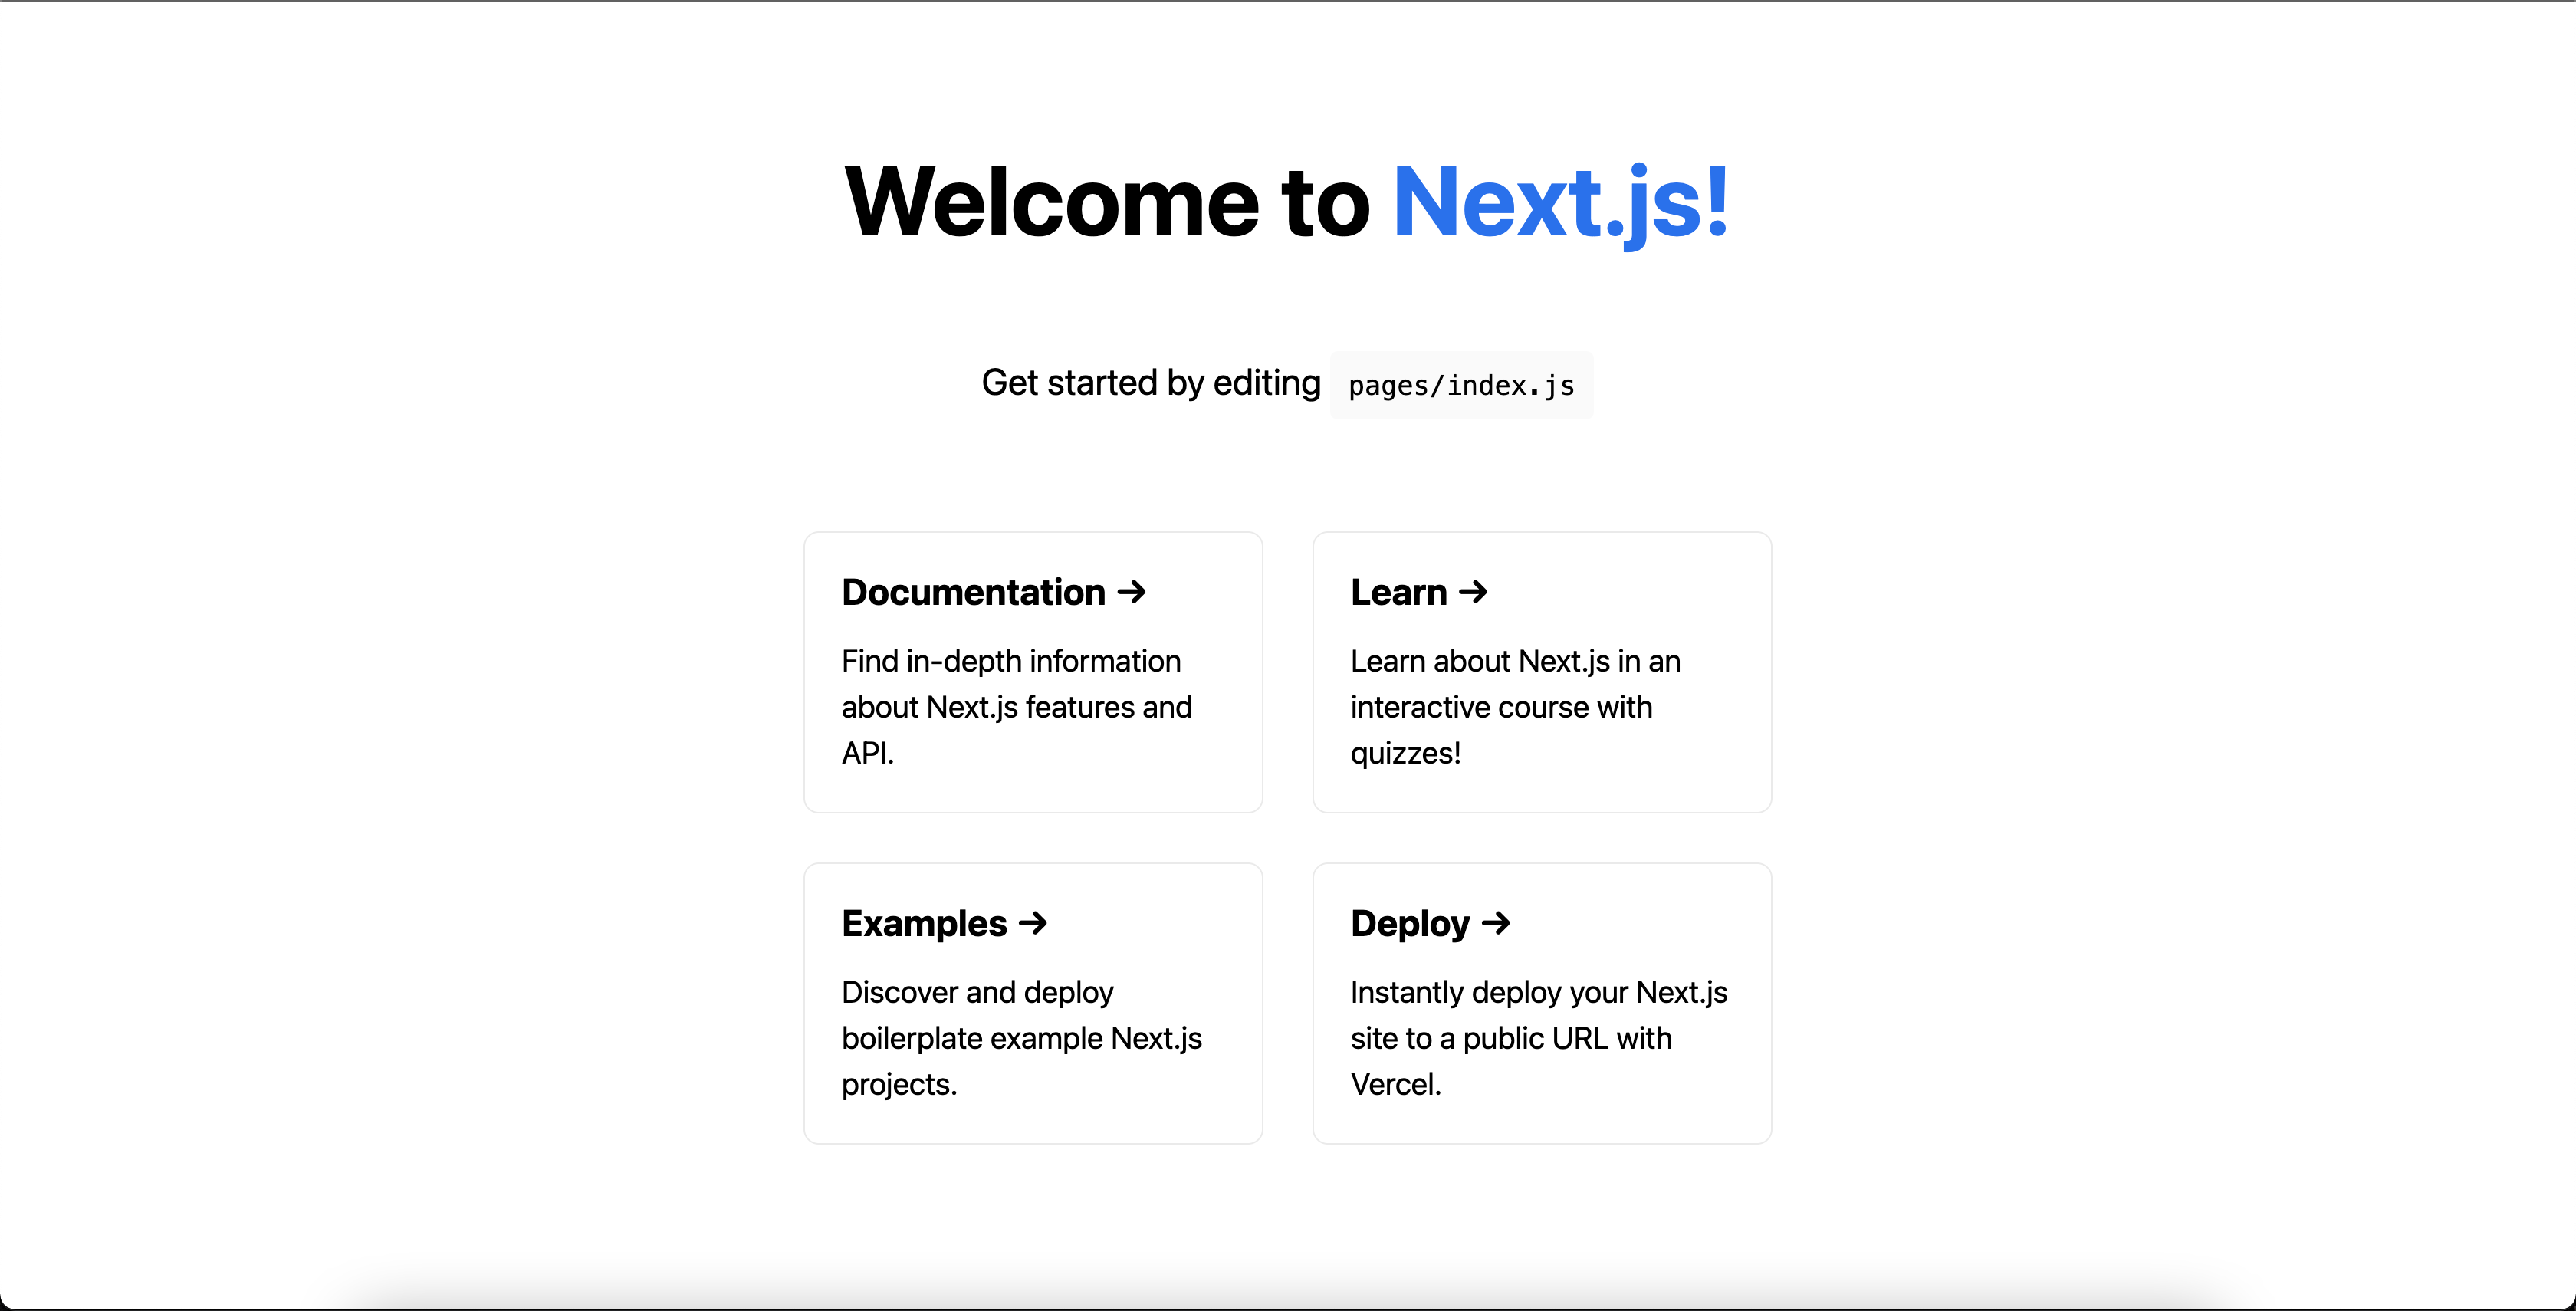
If it doesn’t look like this, let an instructor know in the Emerald City Discord.
What is displayed on the screen?
Previously, you installed VSCode. VSCode is a code editor that allows us to type some code, and has many useful extensions to help us be successful. To open our project code in VSCode, make sure you are in your emerald-dapp directory and type:
code .
This will open up your project in VSCode. Navigate to the ./pages/index.js file and make sure it looks like this:
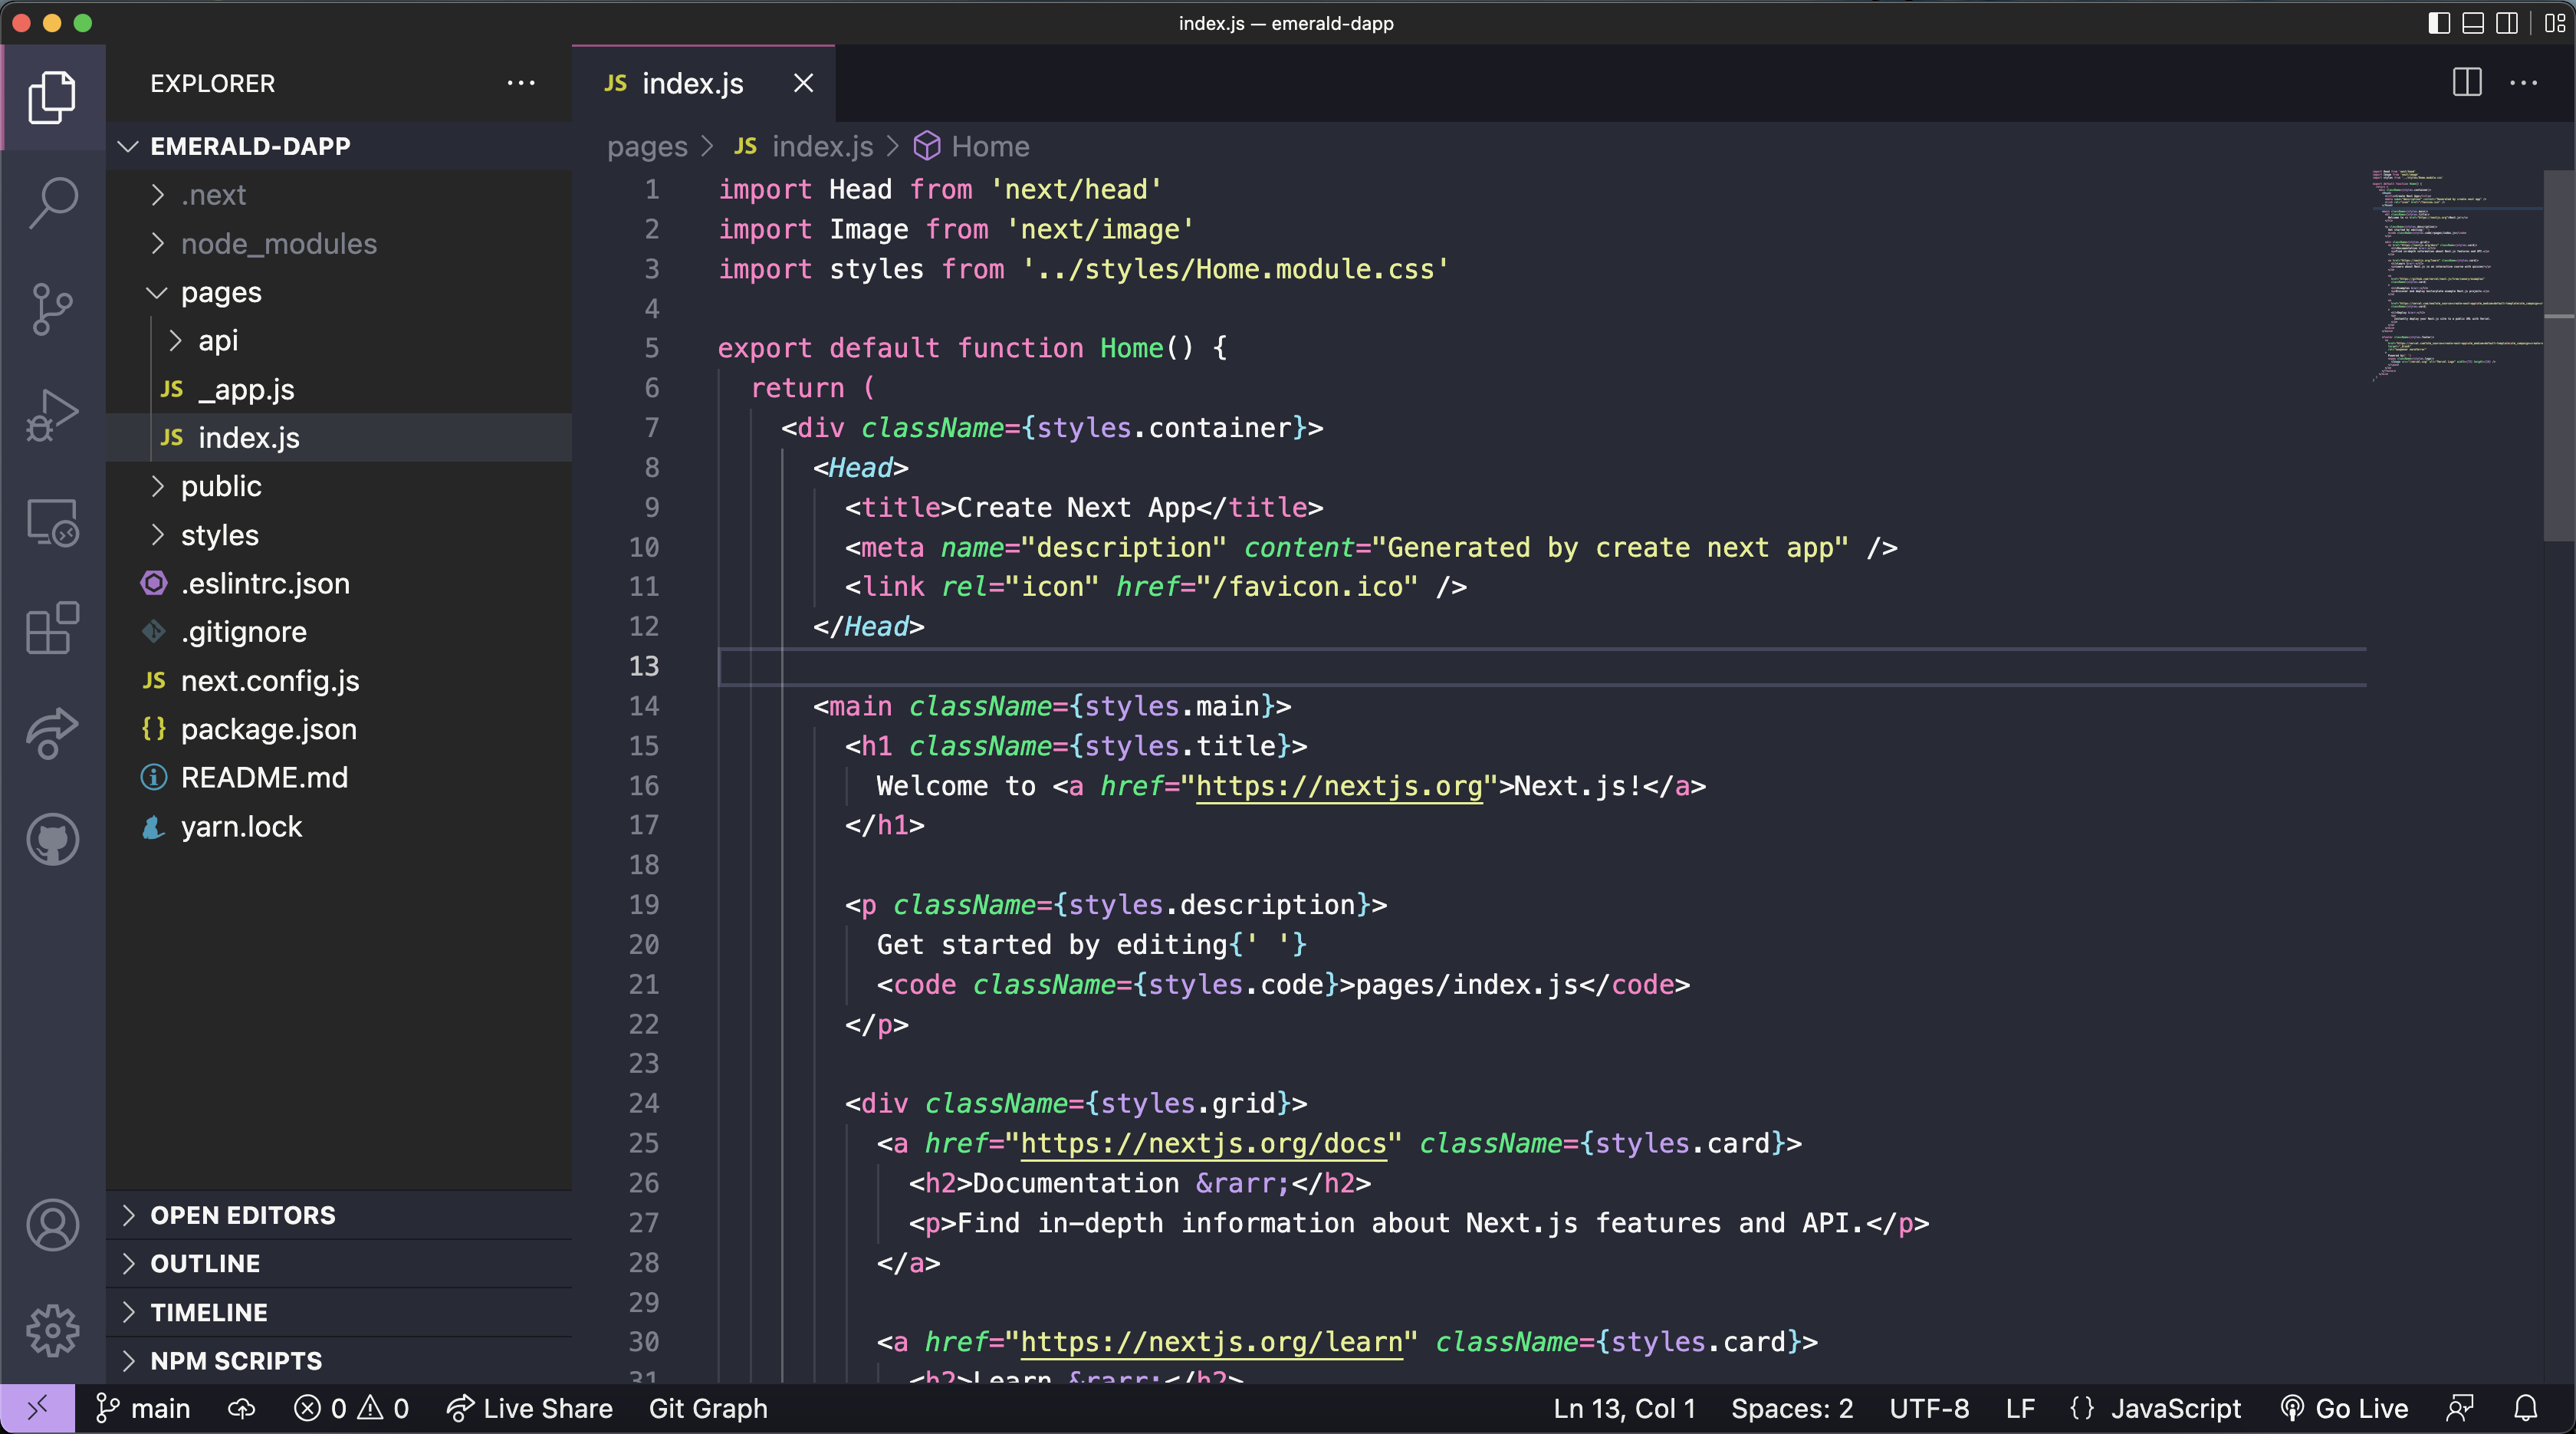
This is the frontend of your application. The code you are seeing is the “what”. It is the stuff appearing on the screen when we went to http://localhost:3000/. All the text, boxes, links, etc.
Styling
The webpage also looks pretty cool, right?! You may be wondering, how does it look like that? The answer is the styling of the application.
All of the styling is contained in the ./styles folder. There are two ways to add styling:
./styles/globals.cssis a CSS file that applies to EVERYTHING. If you write a style in there, it will effect everything.- A “module”, like
./styles/Home.module.css, which is applied using thestyleskeyword in your Components. Modules only apply to the files they are imported in. We will learn more on this soon.
Storing our DApp in Github
Before we wrap up for today, let’s talk about GitHub.
If you haven’t used GitHub before, it’s one of the most essential tools for developers. It lets you store all of your code in a place so you can easily track progress. Most often its used for personal projects or team projects so you can all collaborate on the same code base together. For example, here is Emerald City’s Github: https://github.com/emerald-dao
You can sign up for an account here: https://github.com/
Let’s add our code to our own GitHub accounts. Another way of saying this is we are going to “push” our code to GitHub.
Create a New Repository
A repository is basically like a project.
- Go to https://github.com/new and name your project “beginner-emerald-dapp”
- Make it “public”
- Click “Create repository”
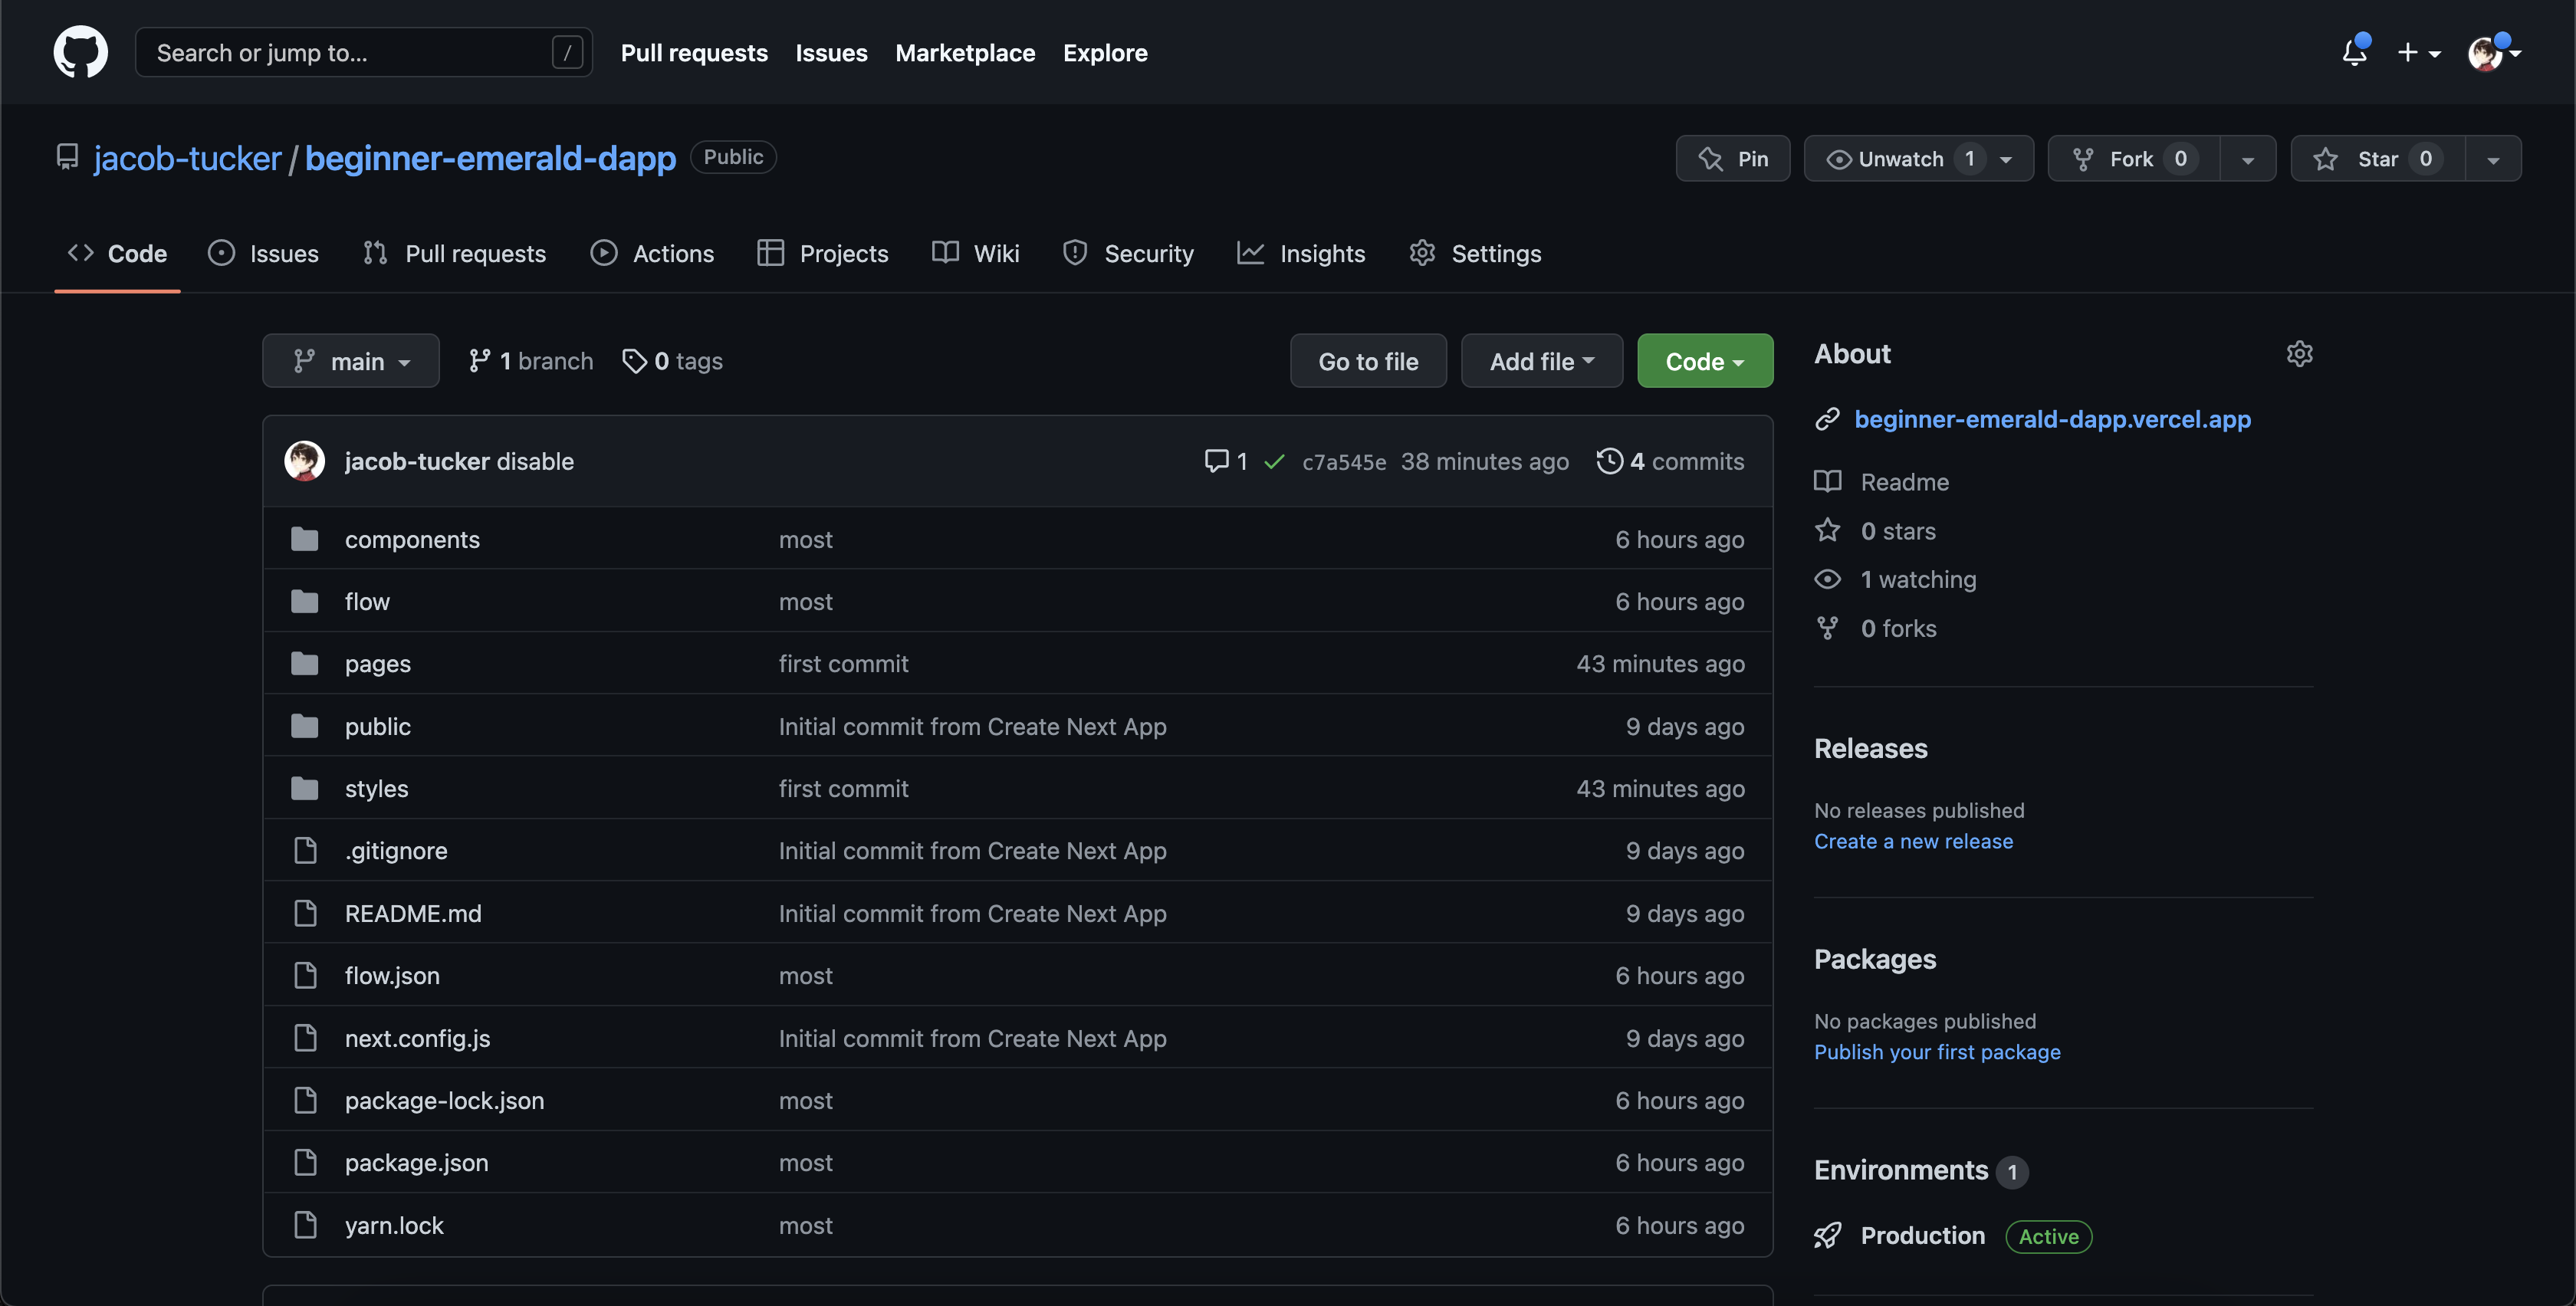
You will now be taken to a page with no files inside of it. It should look like this:
Pushing to Our Repository
Let’s now add (or “push”) our code to GitHub. Open up a terminal on your computer and make sure you’re in the base directory of your project.
Run the following lines of code:
			git init
git add .
git commit -m "jacob is the best developer on the planet"
git branch -M main
git remote add origin
git push -u origin main
Then, copy and paste the URL of the GitHub repository and insert it into the command below, and then run it:
			git remote add origin [THE URL GOES HERE]
git push -u origin main
If this is your first time pushing to GitHub, it may ask you to log in. Then, if you go back to your GitHub repository, it should all be there!
Making Changes
Now, what if we make changes to our code? How to we put it on GitHub?
When you make a change in your code and save the file, you can push it to GitHub by running:
			git add .
git commit -m "you can put any message about the code changes here"
git push origin main
Conclusion
All we wanted you to do today was install a Next.js project and run the project. If you could successfully do that, wooooohoooo! You will have no problem with the Quest.
In tomorrow’s content, we will explain what all the code is actually doing, and make some changes.
Quests
For your quest today, you have one task:
What is the difference between frontend and backend? Can you provide a real life example? Note: You can’t use the one in this chapter.
What is the difference between global styling and module styling?
Take a screenshot of the running application and upload it to your quest submissions.
Upload the link to your public GitHub repository.