
Chapter 3 Lesson 3 - Bringing Cadence to our DApp & Deploying our Contract
Today’s lesson will be very short (WOOOHOOOO! We don’t have to read Jacob’s annoying course for too long!). We are going to bring our Cadence code into our DApp.
Installing the Cadence VSCode Extension
Now that we’re no longer on the playground, we want to be able to have errors show up in our VSCode when we’re coding Cadence. There’s an extension to do that!
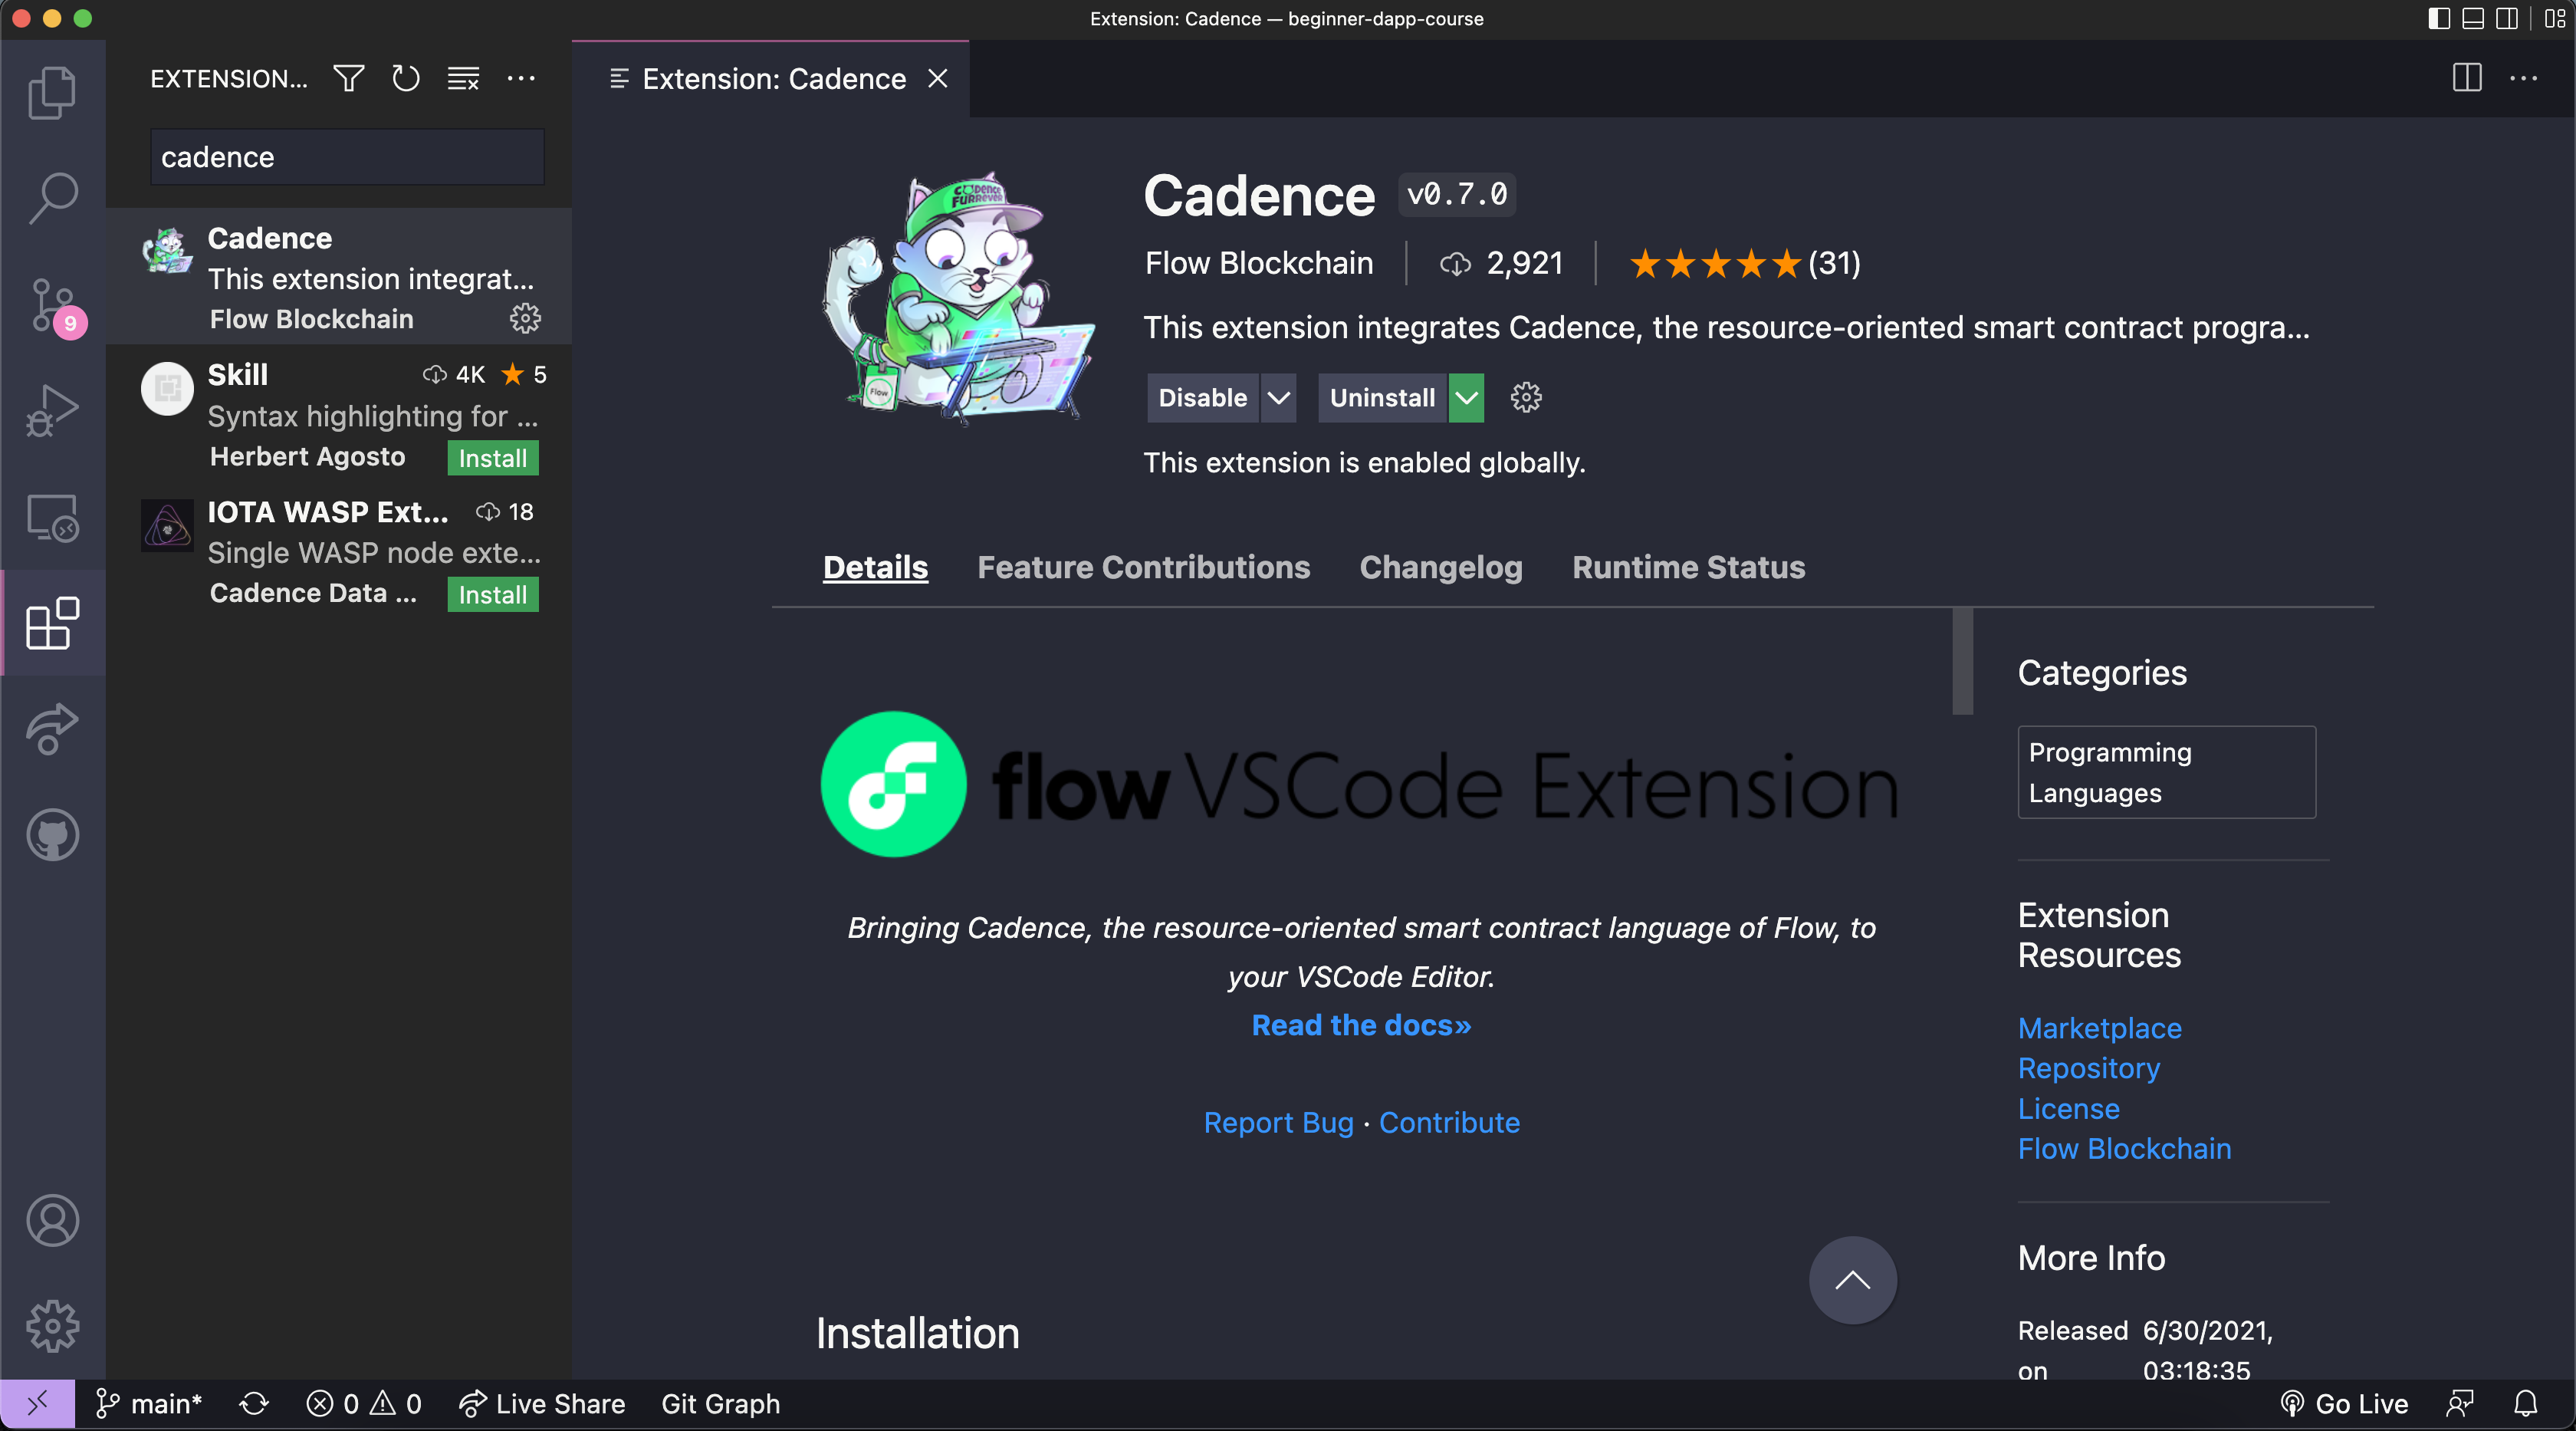
Open VSCode. On the left side of VSCode, there’s an icon that looks like 4 squares. Click that and search “Cadence”.
Click on the following extension and press “Install”:
Installing the Flow CLI & flow.json
The Flow CLI will allow us to run transactions & scripts from the terminal, and allow us to do other Flow stuff like creating flow.json (coming soon…)
Install the Flow CLI. You can do that by:
Mac
- Pasting
sh -ci "$(curl -fsSL https://storage.googleapis.com/flow-cli/install.sh)"into a terminal
Windows
- Pasting
iex "& { $(irm 'https://storage.googleapis.com/flow-cli/install.ps1') }"into PowerShell
Linux
- Pasting
sh -ci "$(curl -fsSL https://storage.googleapis.com/flow-cli/install.sh)"into a terminal
You can confirm the Flow CLI is installed by going to a terminal and typing flow version. If a version appears, you’re good to go.
Flow Folder
Inside of our Emerald DApp, let’s make a new folder called flow.
Inside of the flow folder, let’s make another folder called cadence.
Inside of the cadence folder, let’s make a contracts folder, a transactions folder, and a scripts folder.
Inside of the contracts folder, add a new file called HelloWorld.cdc. In that file, put our contract code from yesterday:
			pub contract HelloWorld {

    pub var greeting: String

    pub fun changeGreeting(newGreeting: String) {
        self.greeting = newGreeting
    }

    init() {
        self.greeting = "Hello, World!"
    }
}
Inside the transactions folder, make a new file called changeGreeting.cdc and put our transaction code from yesterday:
			import HelloWorld from 0x01 // THIS IS NO LONGER CORRECT

transaction(myNewGreeting: String) {

  prepare(signer: AuthAccount) {}

  execute {
    HelloWorld.changeGreeting(newGreeting: myNewGreeting)
  }
}
Notice that the import is now wrong. We aren’t importing from 0x01 anymore, that was just a playground thing. In this case, we are importing from a local contract that exists in our project. So change it to:
import HelloWorld from "../contracts/HelloWorld.cdc"
Inside the scripts folder, add a new file called readGreeting.cdc and put in our script code from yesterday:
			import HelloWorld from "../contracts/HelloWorld.cdc"

pub fun main(): String {
    return HelloWorld.greeting
}
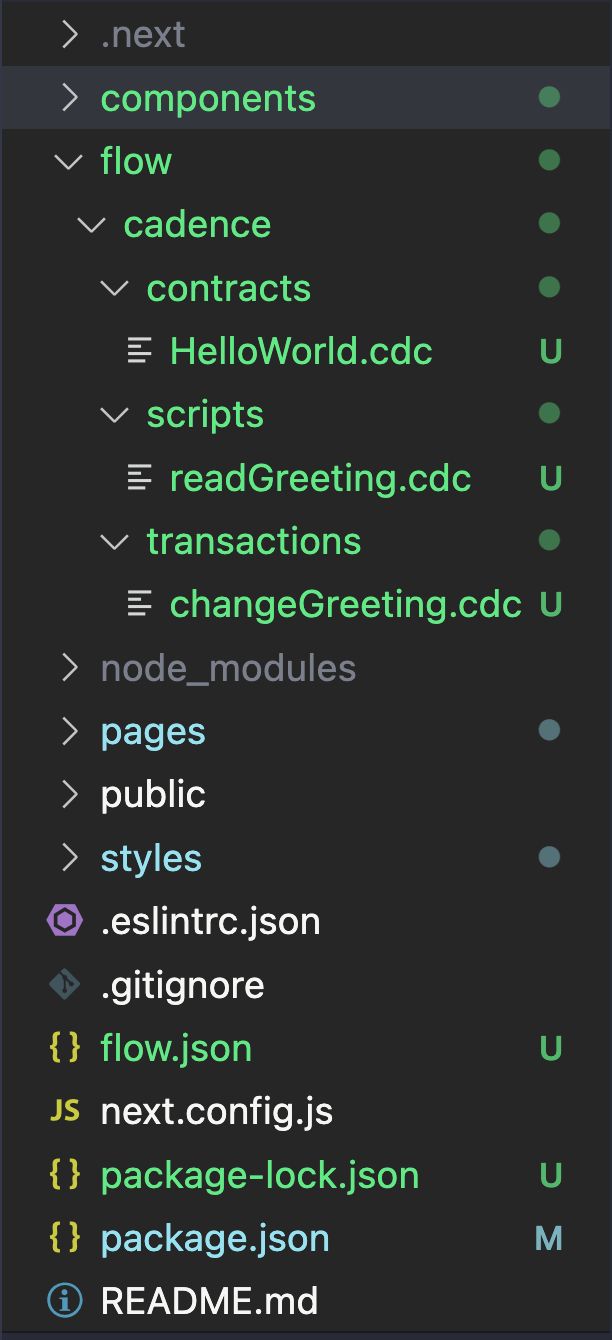
Your project directory should now look like this:
flow.json
Now that we have our contract in our project directory, go to your terminal and
cdinto the base project directory.
Type
flow init
This will create a flow.json file inside your project. This is needed to deploy contracts and to give us compile errors inside our Cadence code.
Deploying our Greeting Contract to TestNet
Sweet! Now let’s deploy our contract to TestNet so that we can start interacting with it.
Configuring flow.json
Inside of your
flow.jsonfile, make the “contracts” object look like this:
			"contracts": {
  "HelloWorld": "./flow/cadence/contracts/HelloWorld.cdc"
},
This will allow your flow.json to know where your contracts live.
Creating an Account
🔐 Generate a deployer address by typing
flow keys generate --network=testnetinto a terminal. Make sure to save your public key and private key somewhere, you will need them soon.

👛 Create your deployer account by going to https://testnet-faucet.onflow.org/, pasting in your public key from above, and clicking
CREATE ACCOUNT:

After it finishes, click
COPY ADDRESSand make sure to save that address somewhere. You will need it!
⛽️ Add your new testnet account to your
flow.jsonby modifying the following lines of code. Paste your address you copied above to where it says “YOUR GENERATED ADDRESS”, and paste your private key where it says “YOUR PRIVATE KEY”.
			"accounts": {
  "emulator-account": {
    "address": "f8d6e0586b0a20c7",
    "key": "5112883de06b9576af62b9aafa7ead685fb7fb46c495039b1a83649d61bff97c"
  },
  "testnet-account": {
    "address": "YOUR GENERATED ADDRESS",
    "key": {
      "type": "hex",
      "index": 0,
      "signatureAlgorithm": "ECDSA_P256",
      "hashAlgorithm": "SHA3_256",
      "privateKey": "YOUR PRIVATE KEY"
    }
  }
},
"deployments": {
  "testnet": {
    "testnet-account": [
      "HelloWorld"
    ]
  }
}
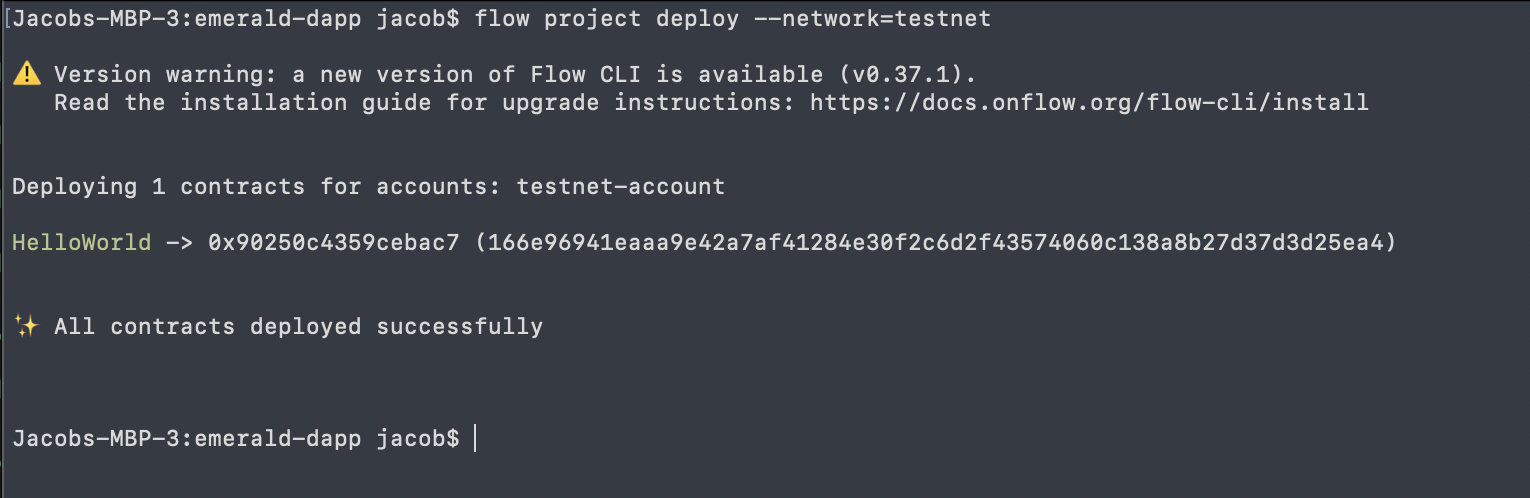
🚀 Deploy your HelloWorld smart contract:
flow project deploy --network=testnet
Interacting with our Contract
Now that we deployed our contract to testnet, we can interact with it in our terminal using the Flow CLI.
Informing flow.json of our Deployed Contract
Before we run a script using the Flow CLI in our terminal, we have to tell our flow.json where our contract lives on testnet. This is because right now, the import path ("../contracts/HelloWorld.cdc") is meaningless inside our script file.
Now that we have deployed our contract to testnet, we can configure our flow.json to recognize that the contract exists at that address.
Inside of your flow.json, change the “contracts” object to look like this:
			"contracts": {
  "HelloWorld": {
    "source": "./flow/cadence/contracts/HelloWorld.cdc",
    "aliases": {
      "testnet": "YOUR CONTRACT ADDRESS"
    }
  }
}
Now, when you run your script, it will automatically replace the local import path to the deployed contract address.
Reading our Greeting
To run our readGreeting.cdc script from the terminal, go to your project directory and type:
flow scripts execute ./flow/cadence/scripts/readGreeting.cdc --network=testnet
If it works properly, you will see this:

Boom! It returned “Hello, World!”, which is exactly what our greeting variable is in the contract. YAAAAAAAY!!
Changing our Greeting
To run our changeGreeting.cdc transaction from the terminal, go to your project directory and type:
flow transactions send ./flow/cadence/transactions/changeGreeting.cdc "Goodbye, Loser" --network=testnet --signer=testnet-account
If it works properly, you will see this:
That means the transaction is sealed (completed) and worked! If you run the script to read the greeting again, hopefully you will see:

NICEEEEEE!!! We successfully changed our greeting in our contract. This is so cool.
Conclusion
That was a lot today, but how cool is this?! We deployed our own contract to Flow Testnet, ran a script to read our greeting, and then ran a transaction to change it. You are all doing amazing!
Quests
- Create a new smart contract in Cadence that has at least the following two things:
- A variable to hold a value (like a number or a piece of text)
- A function to change that variable
After, deploy that contract to the same testnet account you generated today.
- Send a screenshot of you reading the variable from your new contract using the Flow CLI
- Send a screenshot of you changing the variable from your new contract using the Flow CLI
- Send a screenshot of you reading your changed variable from your new contract using the Flow CLI
- Go to https://flow-view-source.com/testnet/. Where it says “Account”, paste in the Flow address you generated and click “Go”. On the left hand side, you should see your “HelloWorld” contract and your new contract. Isn’t it so cool to see them live on Testnet? Then, send the URL to the page.